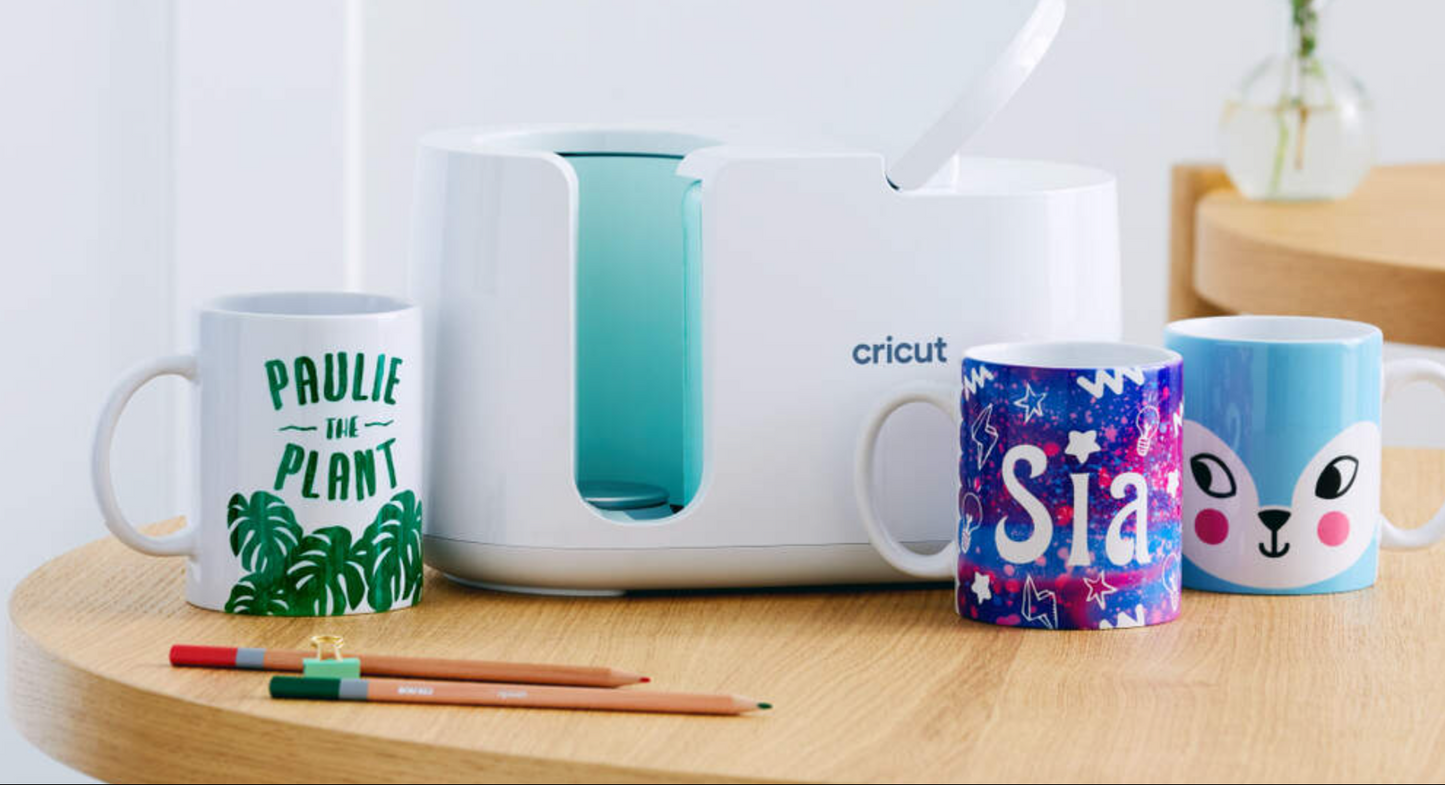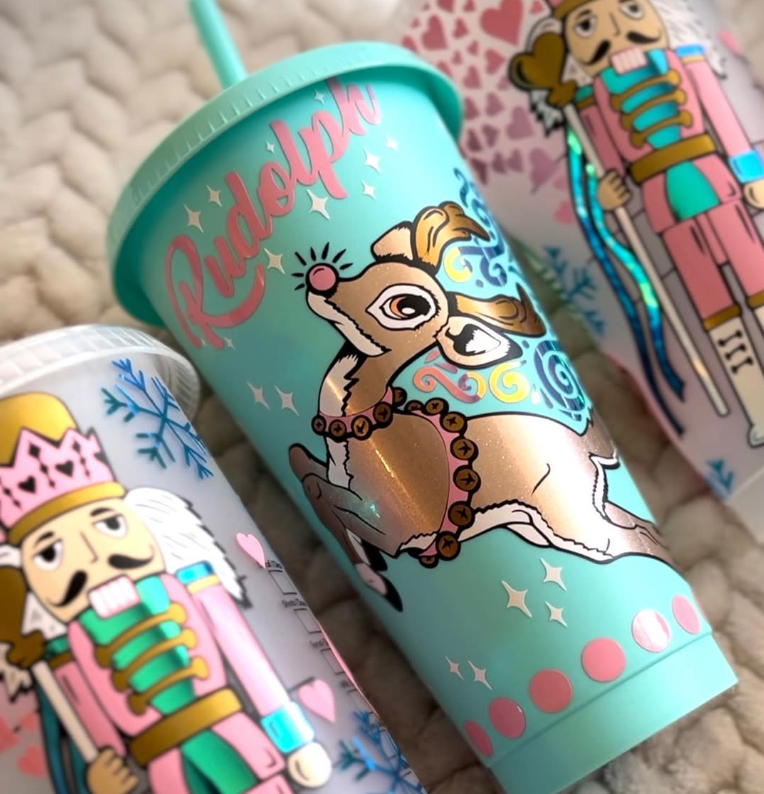
So, you’ve decided to dive into the wonderful world of sublimation mugs using the Cricut Mug Press? Well, congrats! You’re about to turn plain mugs into pieces of art that’ll make people say, “Where’d you get that?” So grab your tools, maybe a glass of wine, and let’s get sublimating!
What You’ll Need
- Cricut Mug Press (If you don't have one yet, don't worry you can get one here)
- Infusible Ink Sheets or Sublimation Prints (get fancy!)
- Sublimation-Ready Mugs (Cricut mugs work best you can get those here)
- Heat Tape (to keep things in place—it’s more useful than it sounds)
Step 1: Design Magic Time
First things first, head over to Cricut Design Space and start dreaming up your custom design. Whether you're making something hilarious or cute, be sure to mirror that design! No one needs backward text on their morning coffee mug (unless you're into that). Once your design is ready, cut it using Infusible Ink or print it if you're rolling with sublimation transfers.
Step 2: Wrap It Like You Mean It
Now comes the fun part—wrapping your design onto your sublimation mug. Lay your printed or cut design around the mug and secure it with heat-resistant tape. Make sure it’s tight and taped down firmly—any movement during pressing will lead to a blurry design. And unless you’re aiming for "abstract art" vibes, that’s a no-go.
Step 3: Fire Up your Cricut Mug Press
Time to crank up the heat! Preheat your Cricut Mug Press—don’t worry, it’s super user-friendly. Once it’s heated and ready (the light will tell you), pop your mug into the press, pull down the lever, and let the magic happen. It only takes about 5-6 minutes, which, let’s be honest, feels like forever when you’re excited. And please, no peeking! It’s tempting, but patience, grasshopper.
Step 4: The Big Reveal
When your mug press beeps, it’s time for the reveal. Carefully lift your mug out—it’ll be hot (duh), so use gloves or wait a bit if you’re impatient like me. Once it’s cool enough to handle, peel off the sublimation transfer or Infusible Ink sheet. You should see a bright, vibrant, and permanent design that’s dishwasher-safe, microwave-safe, and basically awesome.
Step 5: Sip and Brag
Now that you’ve created your very own sublimated mug, fill it up with your drink of choice (coffee, tea, or maybe something a little stronger). Then, show it off to anyone who’ll listen! Custom mugs are not only fun to make, but they’re also a great way to level up your gift game or even start a small business. Plus, let’s be real—nothing beats sipping out of a mug you made yourself.
Tip from TheCraftyDrunkCo: If something goes wrong—blurry designs, misaligned text—just call it “abstract art” and move on. It’s your mug; you make the rules!


